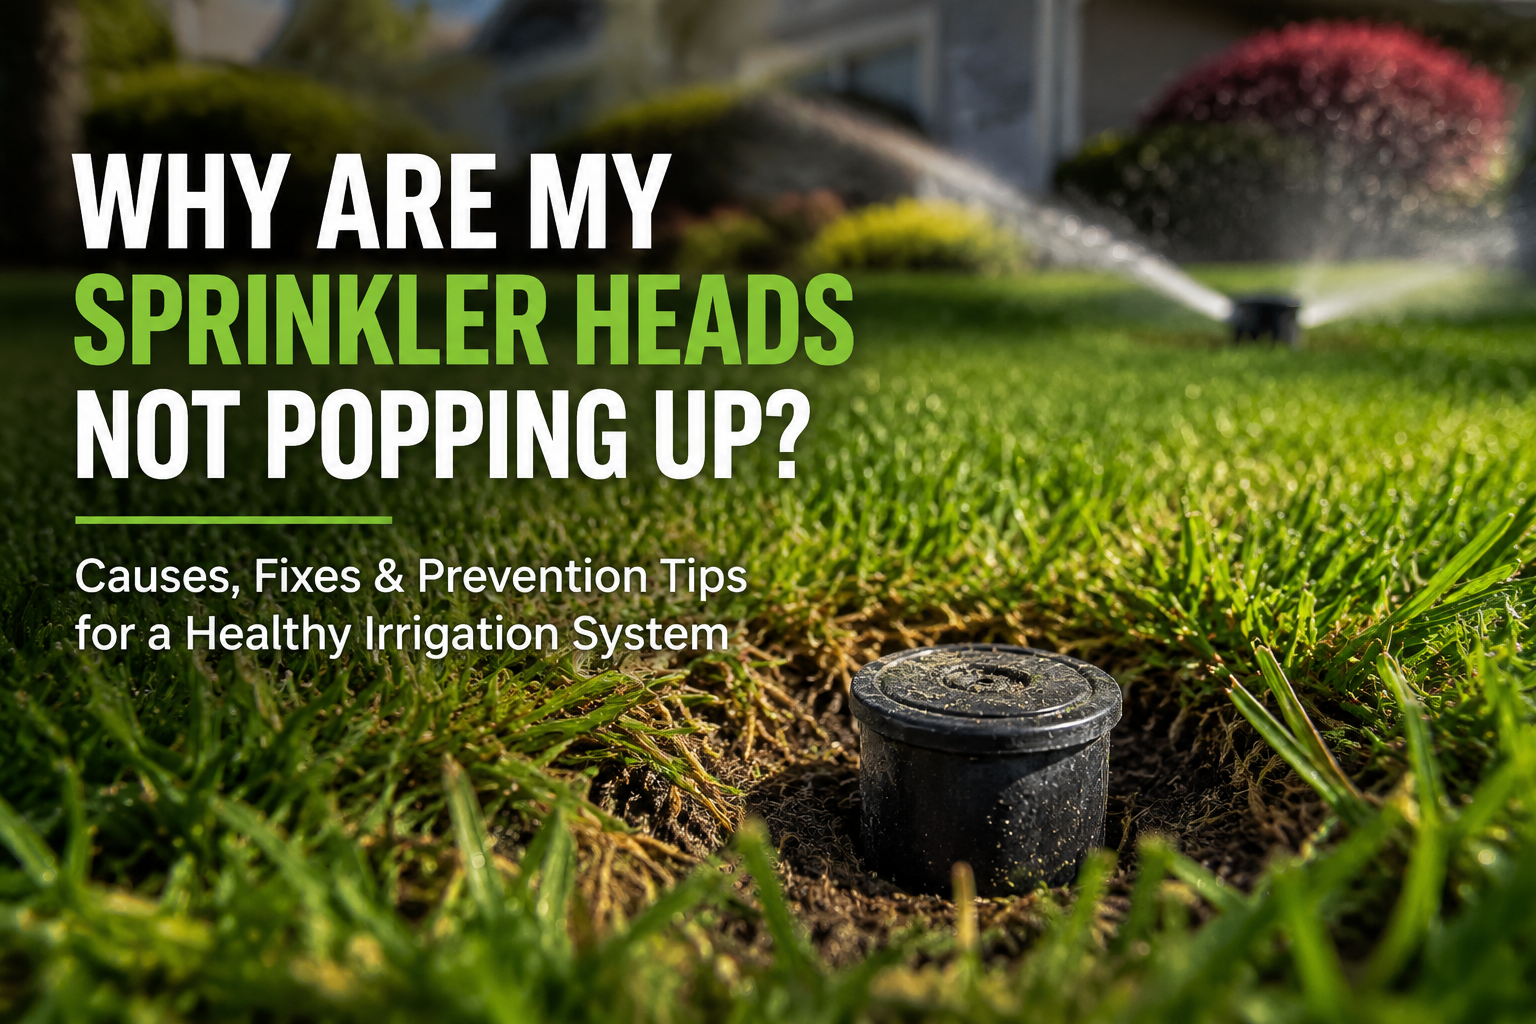
A healthy lawn needs a working sprinkler system. But sometimes a sprinkler zone suddenly stops turning on. When this happens, many homeowners worry that the whole irrigation system is broken. In reality, sprinkler systems are simple machines, and the problem is often easy to find.
If you live in areas where lawns and gardens rely on irrigation, such as neighborhoods served by local experts, learning a few troubleshooting steps can save you time and money.
In this guide, we will walk through a simple step-by-step method to find out why a sprinkler zone is not working and how you can fix it.
How a Sprinkler Zone Works
Before fixing anything, it helps to understand the basics.
A sprinkler system has a timer (controller), which sends electricity to a small device called a solenoid (solenoid valve). The solenoid opens a rubber part inside the valve called a diaphragm. When that happens, water flows through the pipes and the sprinkler heads start spraying water.
If any part of this process stops working, the sprinkler zone will not turn on.
The good news is that there are only a few places where the problem can happen, and each one can be tested.
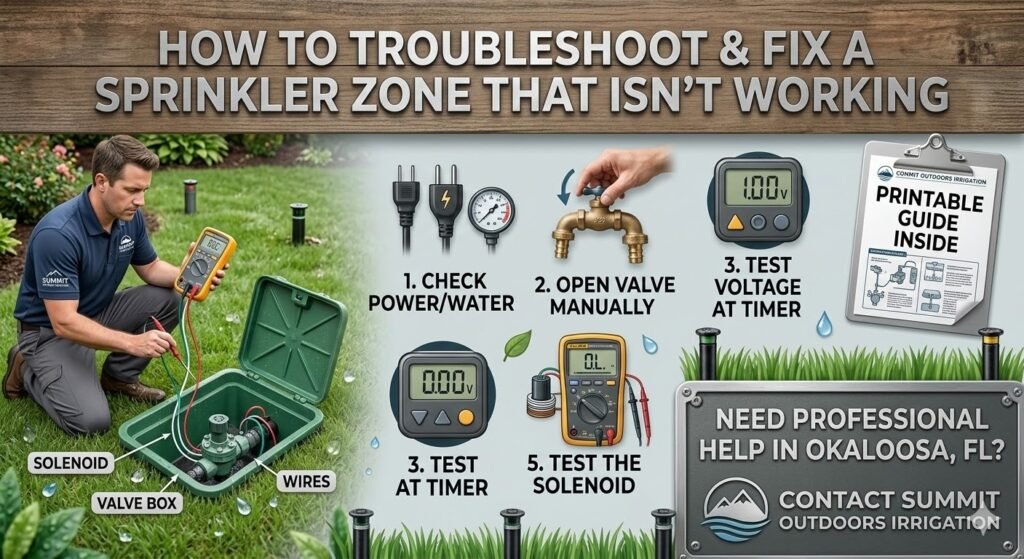
Step 1: Check the Power and Water Supply
This may sound too simple, but it is always the first step.
Make sure the sprinkler timer has power. Look at the display. If the screen is off, the controller may not be plugged in or the circuit breaker may be off.
Next, check the main water valve that supplies water to the irrigation system. If the valve is closed, water cannot reach the sprinklers.
Many homeowners skip this step because it seems obvious. But irrigation technicians often find that the main water valve was accidentally turned off during yard work or maintenance.
Without power and water, the sprinkler zone cannot work.
Call to Action: Contact Summit Outdoors Irrigation to inspect your sprinkler system
Step 2: Open the Valve Manually
If the power and water supply are working, the next step is to test the valve itself.
Most sprinkler valves have a small bleed screw or allow you to turn the solenoid slightly. When you open this manually, the valve should allow water to flow.
If the sprinklers start running when you open the valve manually, the mechanical parts are working. This means the problem is likely electrical.
If nothing happens when you open the valve manually, the valve itself may be broken and might need to be replaced.
Luckily, most standard sprinkler valves cost around $20 to $30, making them relatively inexpensive to replace.
Step 3: Test Voltage at the Timer
If the valve works manually but not automatically, it is time to test the electrical system.
Using a multimeter, turn on the zone from the timer and check the voltage at the controller.
A healthy sprinkler system usually sends between 22 and 30 volts to the zone.
Testing other zones can help you compare readings. If other zones show proper voltage but the problem zone does not, the controller may have a bad connection or a faulty output.
In some cases, the timer itself may need to be replaced.
Call to Action: Learn more about sprinkler timers and controllers
Step 4: Test Voltage at the Valve
If the timer is sending power correctly, the next place to test is the valve.
Use the same multimeter test on the valve wires.
If the voltage is not reaching the valve, there may be a wiring problem somewhere between the timer and the valve box.
Sometimes the issue is very simple. A loose wire nut or a corroded connection can interrupt the electrical signal. Other times, the wire underground may be damaged.
A quick fix is often to run a new wire from the timer to the valve and seal the connections carefully so water cannot get inside.
Step 5: Test the Solenoid
The last electrical part to check is the solenoid.
To test it, disconnect the wires from the power source and switch the multimeter to the ohm setting.
A normal solenoid usually shows a reading between 30 and 50 ohms.
If the reading is much higher or much lower, the solenoid is likely damaged and needs to be replaced.
Replacing a solenoid is usually easier and cheaper than replacing the entire valve.
Call to Action: Check solenoid valves on Wikipedia
Real-Life Example
One homeowner recently contacted a local irrigation company because one sprinkler zone in their backyard stopped working.
At first they thought the valve was broken.
But after following these troubleshooting steps, they discovered the real problem was a damaged wire connection near the valve box. After replacing the wire and sealing the connection properly, the sprinkler zone started working again.
The repair took less than thirty minutes and saved the homeowner the cost of replacing multiple parts.
When the Valve Needs Replacement
If all the electrical tests are correct and the valve still does not open, the problem may be mechanical.
Inside the valve there is a diaphragm that controls water flow. Over time, dirt, wear, or damage can prevent it from opening properly.
When this happens, replacing the valve is usually the best solution.
Call to Action: Hire Summit Outdoors Irrigation to replace your sprinkler valve
Printable Sprinkler Troubleshooting Guide
When you are outside working on your sprinkler system, it is not always convenient to use your phone.
That is why many irrigation experts recommend using a printable troubleshooting checklist. It helps you follow each step in order and prevents missing something simple.
A basic guide includes checking power, testing the valve manually, measuring voltage at the timer and valve, and testing the solenoid.
With this checklist, most sprinkler zone problems can be diagnosed in just a few minutes.
Professional Sprinkler Repair
Sometimes irrigation problems require professional tools or experience.
If you have tried these steps and your sprinkler zone still does not work, it may be time to call experts like Summit Outdoors Irrigation. Professional irrigation technicians can quickly diagnose wiring issues, valve problems, or controller failures and restore your sprinkler system.
A working sprinkler system keeps your lawn green, protects plants, and saves water by delivering the right amount exactly where it is needed.
Final Thoughts
A sprinkler zone that will not turn on can feel frustrating, especially during hot weather when your lawn needs water the most.
But remember that irrigation systems are simple. By checking power, testing the valve manually, measuring voltage, and inspecting the solenoid, you can find the problem step by step.
In many cases, the fix is quick and inexpensive.
And if the problem becomes too complicated, a professional irrigation service like Summit Outdoors Irrigation can help get your system running again so your yard stays healthy and green.
If you’re in Okaloosa, FL, and need help troubleshooting or fixing your sprinkler system, contact Summit Outdoors Irrigation today.
FAQs
Q: How do I know which zone is having the problem?
A: Turn on each zone one by one. The zone that doesn’t water is the one to troubleshoot.
Q: Can I fix a sprinkler myself?
A: Yes! With a multimeter and our guide, many issues can be solved at home.
Q: How much does a replacement valve cost?
A: Most standard valves cost around $20–$30, and installation is quick if you’re handy.