A reliable irrigation system is your best partner in achieving a lush, green lawn. It ensures your grass and plants get the right amount of water to thrive. However, even the best systems can run into trouble. When problems arise, they can quickly turn your beautiful yard into a patchy, unhealthy mess. Effective lawn care means being able to spot these issues early. This guide will walk you through diagnosing common sprinkler problems so you can keep your system in top shape and your lawn looking its best.
https://summitoutdoorsirrigation.com/common-sprinkler-problems-diagnosis-a-complete-guide/
Identifying Common Sprinkler Problems
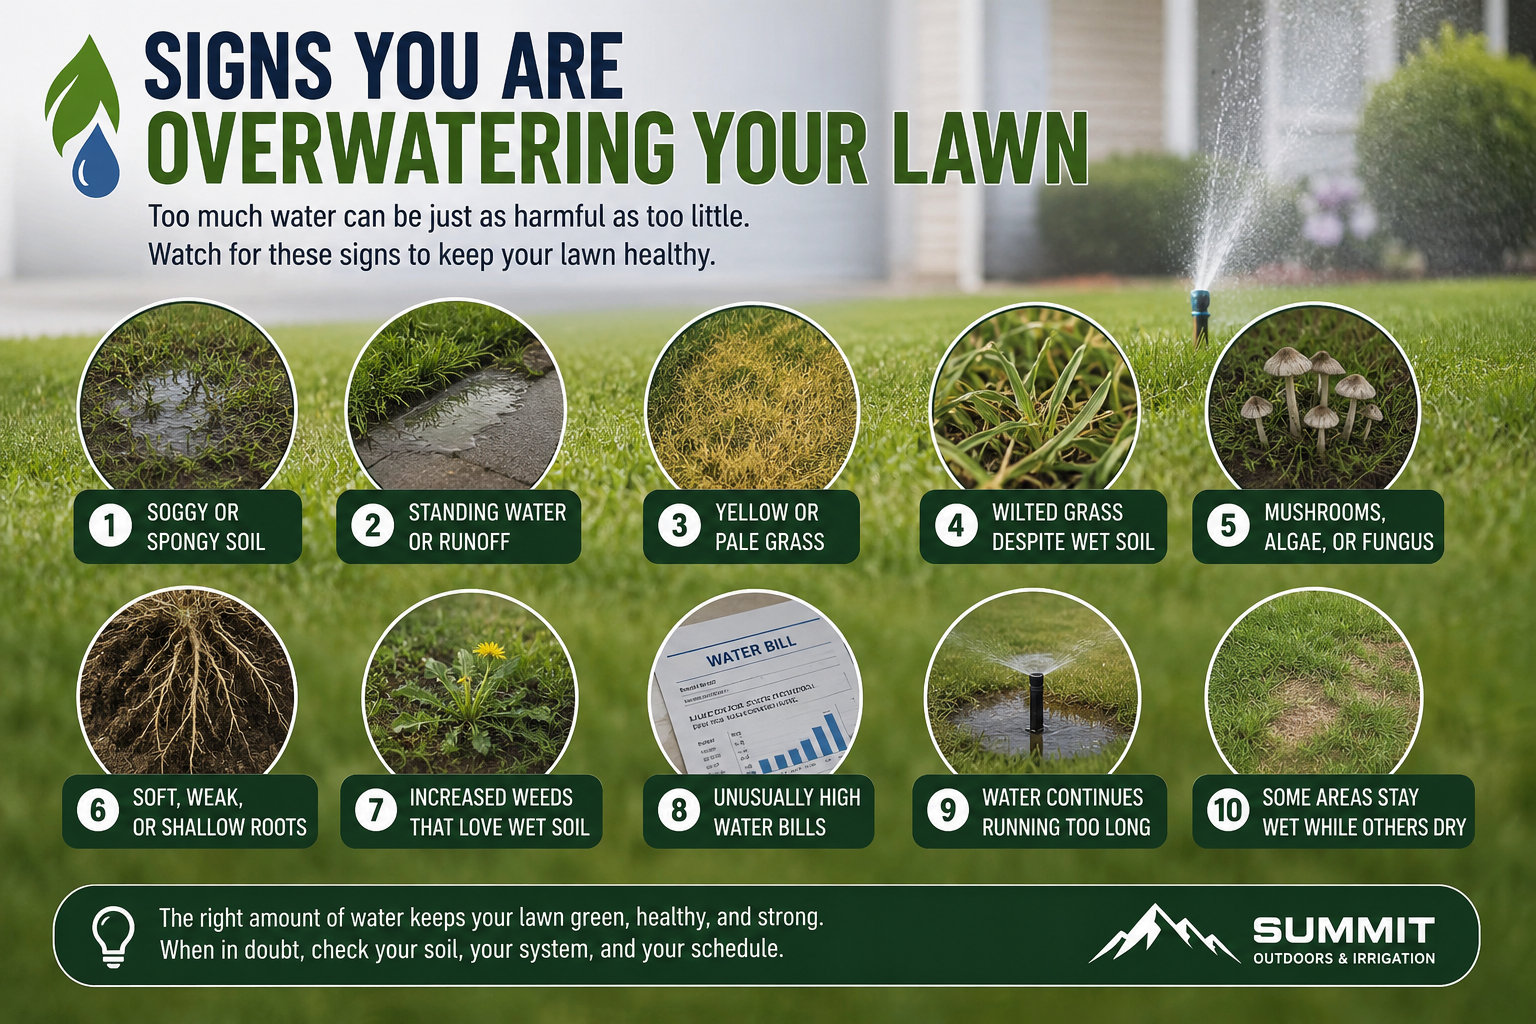
Recognizing the early signs of common sprinkler system problems is key to preventing major damage and high water bills. Have you noticed uneven watering, like dry spots in some areas and soggy patches in others? This could signal an issue with system pressure or a broken sprinkler head.
Other telltale signs include visible leaks around sprinkler heads, unusually high water usage, or sprinklers that stutter or don’t pop up at all. By paying attention to these clues, you can catch problems early and take action before they escalate, saving both water and money. Now, let’s explore some specific issues you might encounter.
Recognizing the early signs of common sprinkler system problems is key to preventing major damage and high water bills.
https://summitoutdoorsirrigation.com/common-sprinkler-problems-how-to-diagnose-them-easily/
Have you noticed uneven watering, like dry spots in some areas and soggy patches in others? This could signal an issue with system pressure or a broken sprinkler head.
https://summitoutdoorsirrigation.com/why-is-my-water-pressure-low-in-my-irrigation-system-solutions/
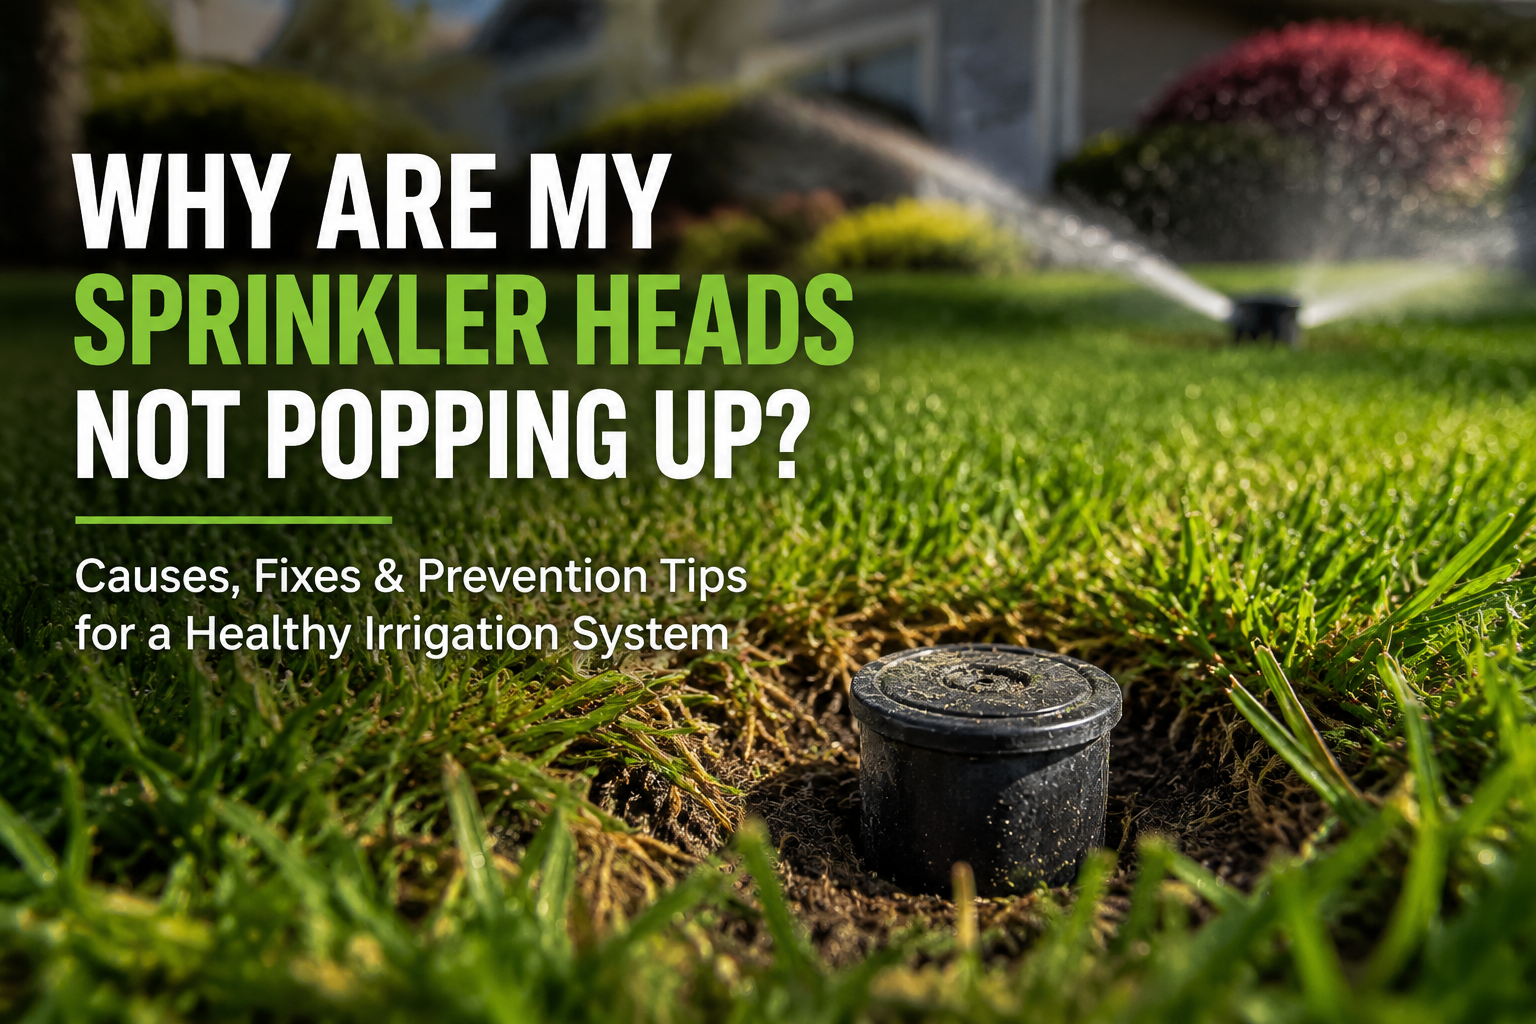
Sprinkler Heads Not Popping Up
One of the most frequent issues homeowners face is sprinkler heads that fail to pop up. When this happens, your lawn won’t receive the water it needs, leading to unsightly dry patches. The cause is often related to a lack of sufficient water pressure reaching the head.
Several factors can prevent your sprinkler heads from rising properly. It could be a simple clogged sprinkler head, where dirt and debris are physically blocking the mechanism. Low system-wide water pressure, a broken pipe leading to the zone, or even a faulty valve can also be the culprit.
To figure out what’s wrong, start with these simple checks:
- Inspect the head: Check for dirt, sand, or grass clippings lodged around the pop-up stem.
- Clean the nozzle and filter: Debris inside the head can restrict water flow, preventing it from popping up.
- Check for leaks: Look for soggy ground between the valve and the problematic head, which could indicate an underground leak stealing pressure.
- Assess the whole zone: If all heads in a zone are down, the issue is likely with the zone’s valve or the main line feeding it.
Recognizing the early signs of common sprinkler system problems is key to preventing major damage and high water bills.
https://summitoutdoorsirrigation.com/common-sprinkler-problems-how-to-diagnose-them-easily/
Have you noticed uneven watering, like dry spots in some areas and soggy patches in others? This could signal an issue with system pressure or a broken sprinkler head.
https://summitoutdoorsirrigation.com/why-is-my-water-pressure-low-in-my-irrigation-system-solutions/
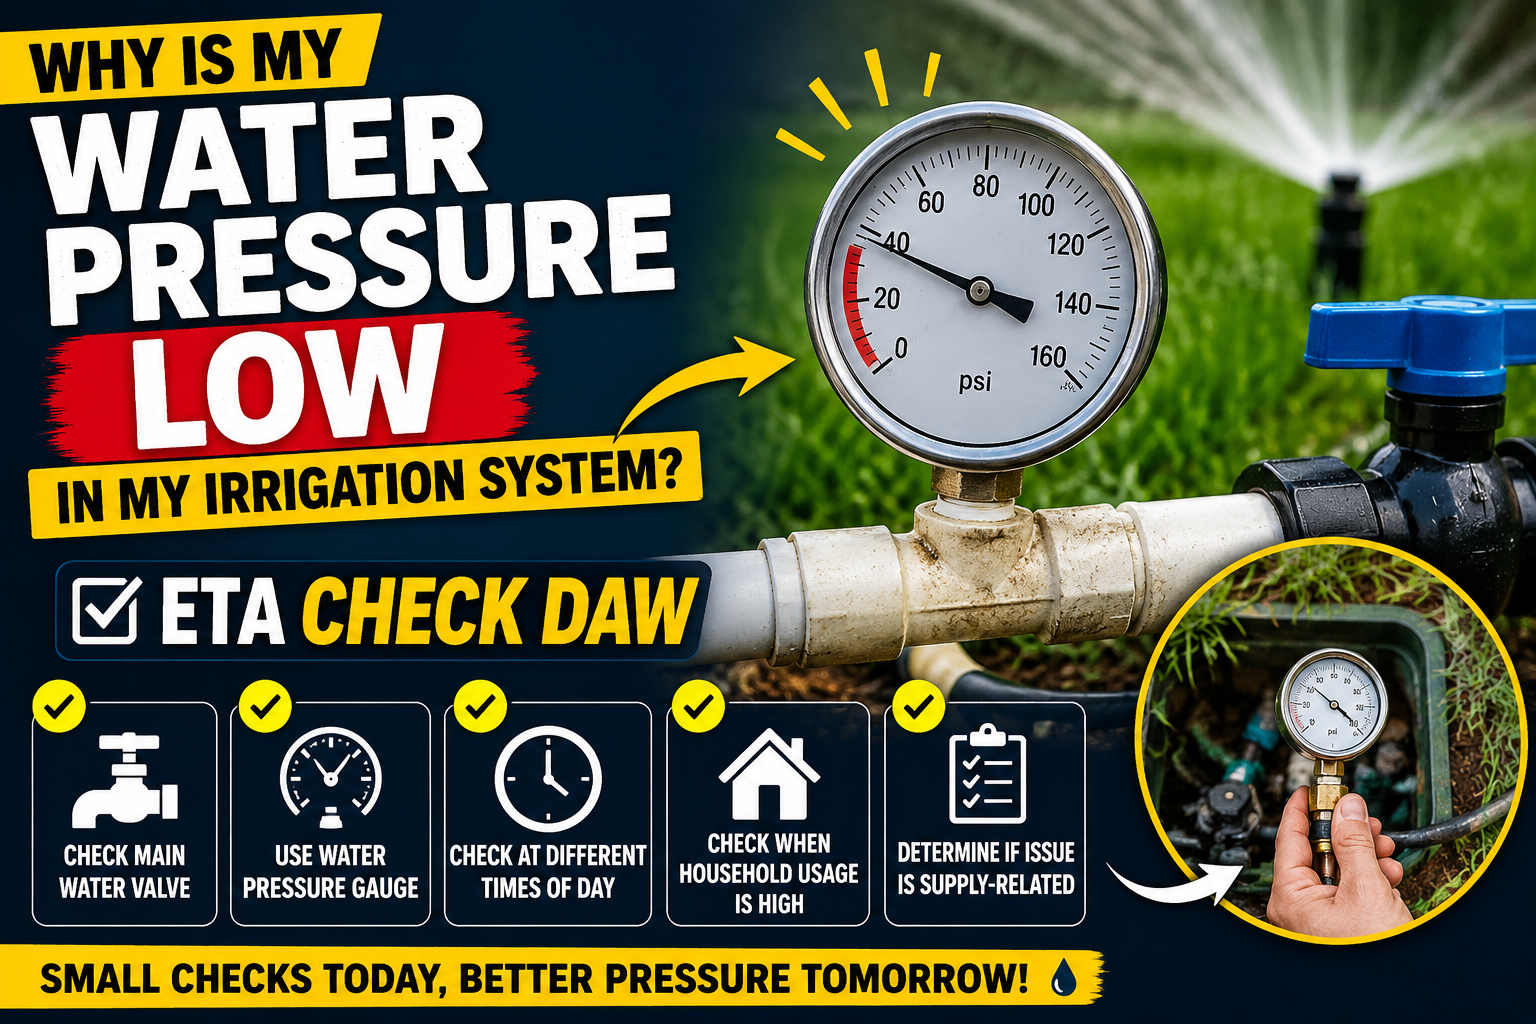
Low Water Pressure Issues
Experiencing low pressure in your sprinkler system can be frustrating, as it results in weak sprays that don’t cover your lawn effectively. This means your grass isn’t getting the right amount of water. The problem could stem from your main water supply or an issue within the irrigation system itself.
Before assuming the worst, check that the main water valve for your system is fully open. A partially closed valve is a common and easily fixable cause of low system pressure. Similarly, ensure the valves on your backflow preventer are completely open. If the pressure is low across all zones, the issue might even be with your municipal water supply, especially during peak watering times.
If only one zone has low pressure, the problem is more localized. You might have a leak, a clogged filter, or a faulty pressure regulator. Here’s a quick guide to troubleshooting:
| Problem Symptom | Possible Cause | Simple Solution |
| Weak spray from all heads | Main valve partially closed | Check and fully open the main water supply valve. |
| One zone has low pressure | Leak in the zone’s pipe | Look for soggy spots and repair the broken pipe. |
| Sprinklers misting heavily | Pressure is too high | Install a pressure regulator to control water flow. |
| Gradual pressure loss | Clogged heads or filters | Clean nozzles and filters to restore proper flow. |
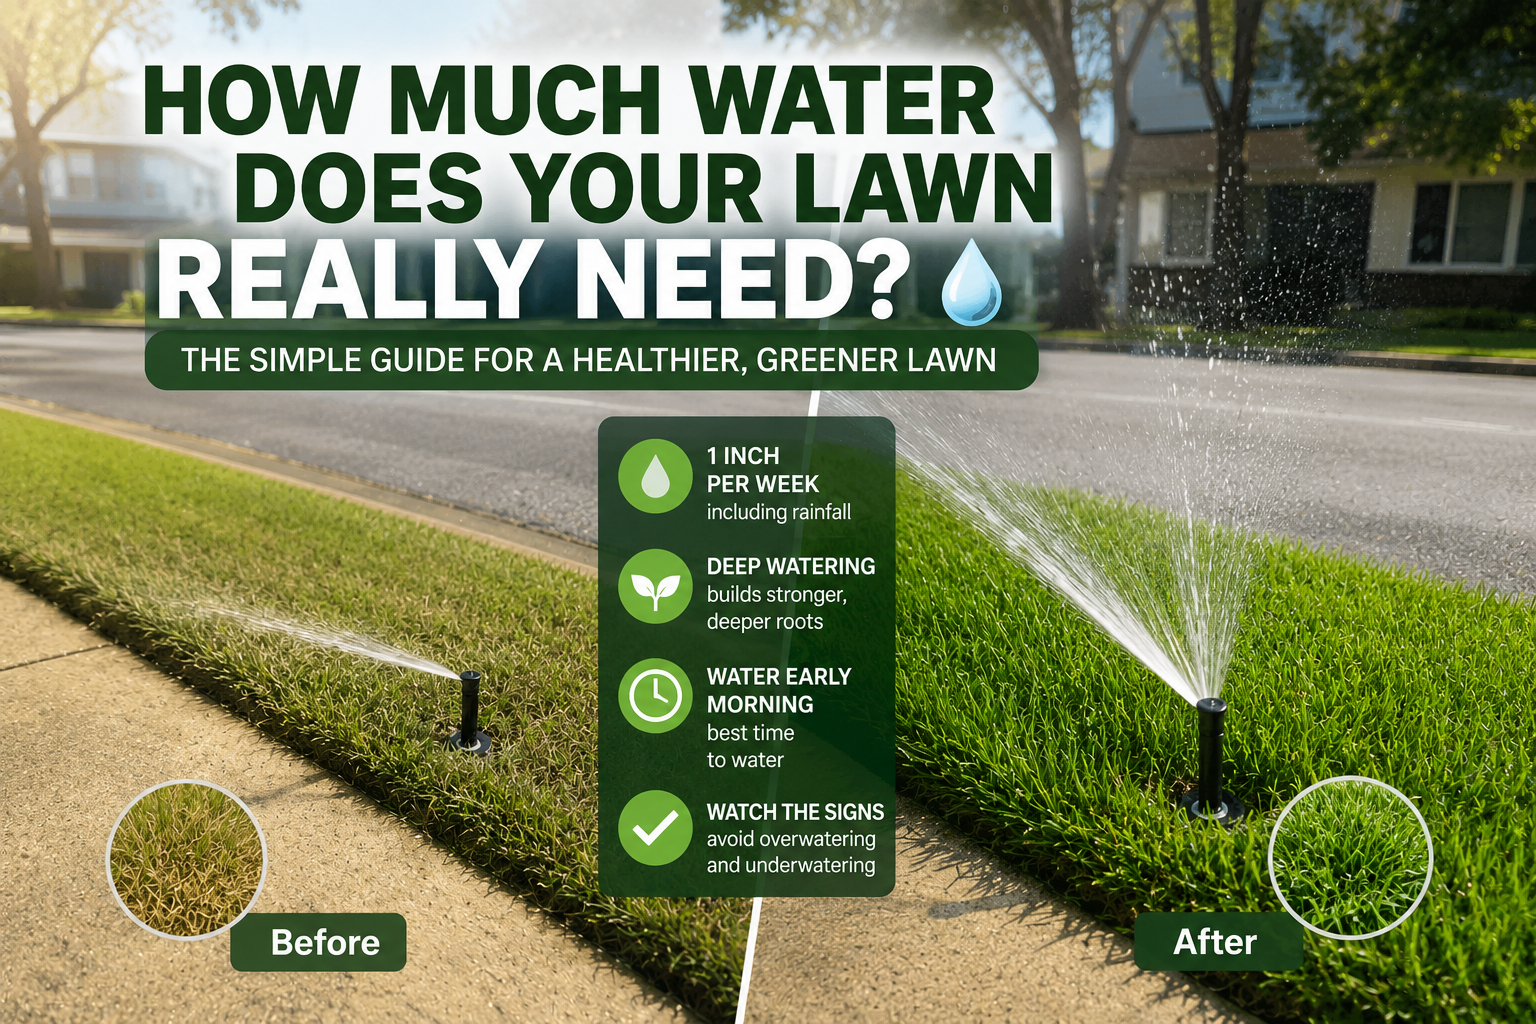
https://summitoutdoorsirrigation.com/essential-lawn-care-watering-education-for-beginners/
https://summitoutdoorsirrigation.com/water-saving-sprinkler-tips-for-niceville-homeowners/
Diagnosing Sprinkler System Failures
When your entire sprinkler system fails to turn on, it can feel like a major headache. These types of sprinkler system problems often point toward a system-wide issue, such as a lack of water or an electrical failure. Diagnosing the root cause involves a process of elimination, starting with the simplest possibilities.
The problem could be as simple as the irrigation controller being unplugged or a tripped circuit breaker. It might also be related to the water flow, such as the main water valve being shut off. In other cases, more complex electrical issues with the controller or wiring could be to blame. Let’s look at how to systematically check for these failures.
Sprinkler System Not Turning On
If your sprinkler system won’t activate at all, the first place to check is your irrigation controller. Modern controllers have diagnostic features, but simple checks can often solve the problem. Before diving into complex wiring connections, ensure the controller has power and is programmed correctly.
Sometimes the issue isn’t electrical. A closed valve on your main water supply line will prevent any water from reaching your system, even if the controller is working perfectly. Always confirm that your water is turned on at the source and at the backflow preventer before assuming a more complicated failure.
If basic checks don’t work, here’s a logical sequence to follow:
- Check the power: Ensure the controller is plugged in and check your home’s circuit breaker. Reset any tripped breakers or GFCI outlets.
- Inspect the main water supply: Walk the line from your house to the backflow device and ensure all valves are in the “on” position.
- Test the controller: Use the controller’s manual function to try and turn on a single zone. If nothing happens, the issue may be the controller itself or a cut in the common wire.
https://summitoutdoorsirrigation.com/why-wont-my-sprinkler-zone-turn-on-common-reasons-explained/
Faulty Sprinkler Valves
Sprinkler valves act as the gates that control water flow to each zone. When one of these valves fails, you’ll either have a zone that won’t turn on or, more frustratingly, one that won’t turn off. A valve stuck open wastes a tremendous amount of water and can flood your lawn.
Signs of a faulty valve include a single zone continuously running after the system has shut off or one zone failing to activate while others work fine. The problem is often caused by debris like rocks or sand getting stuck in the valve’s diaphragm, preventing it from closing properly. This is common in areas using a secondary water source. In other cases, the rubber diaphragm can tear with age.
To test a valve, you can try turning it on manually using the bleeder screw or solenoid. If the zone activates, the valve is likely functional, and the problem may be electrical. If a zone won’t shut off, the issue is almost always debris in the valve or a damaged diaphragm. You’ll need to shut off the water source, open the valve, and inspect its internal components for blockages or tears.
https://summitoutdoorsirrigation.com/sprinkler-system-repair-services-okaloosa-fl/
https://summitoutdoorsirrigation.com/irrigation-pump-installation-in-okaloosa-fl/
Troubleshooting Leaks and Water Loss
Leaks and water loss are sneaky problems that can lead to surprisingly high water bills and damage your landscape. A broken pipe or a worn-out valve seal can waste hundreds of gallons of water without you even realizing it. Catching these issues early is crucial for water conservation and avoiding costly repairs.
Regular maintenance checks are your best defense against hidden leaks. Look for unusually wet spots, sunken ground, or patches of grass that are much greener than the surrounding areas. These are classic signs of an underground leak. We will now cover how to pinpoint leaks in a specific zone and what causes leaks even when the system is off.
https://summitoutdoorsirrigation.com/common-sprinkler-problems-diagnosis-a-complete-guide/
Finding and Fixing Sprinkler Zone Leaks
If you suspect a leak in a specific sprinkler zone, you may notice signs like low pressure in that area, dry spots where water isn’t reaching, or soggy ground. A broken pipe is often the culprit, leading to significant water waste and poor irrigation performance. Finding the exact location of the break is the first step to fixing it.
To locate the leak, run that sprinkler zone by itself and walk the area between the sprinkler heads. Look for water bubbling up from the ground, unusually lush or green lines in the grass, or areas where the ground feels soft and sunken. These indicators will lead you directly to the source of the broken pipe.
Once you’ve found the leak, you can take action. Here’s a simple plan:
- Turn off the water: Shut off the main water supply to the irrigation system.
- Dig carefully: Excavate the soil around the suspected break to expose the damaged section of pipe.
- Repair or replace: Depending on the damage, you can use a repair coupling to patch a small crack or cut out the broken section and replace it with a new piece of pipe.
https://summitoutdoorsirrigation.com/irrigation-sprinkler-repair-in-fort-walton-beach-fl/
Causes of Sprinkler Leaks When System Is Off
It can be baffling to see your sprinklers leaking water when the system is supposed to be off. This issue, often seen as water dribbling from the lowest head in a zone, is known as “low-head drainage.” It happens when water left in the pipes after a cycle drains out through the lowest point. While it seems like a minor annoyance, it can waste water and create soggy spots.
The most common cause is the absence of a check valve in the sprinkler head or in the line. A check valve is a simple device that holds water in the pipes after the system shuts off, preventing it from draining out. Another cause can be a valve on your backflow preventer that isn’t fully closed or a main irrigation valve that is slowly passing water.
If you’re dealing with persistent leaks, here’s what to check:
- A faulty zone valve: Debris or mineral buildup can prevent a valve from closing completely, allowing a small amount of water to seep through.
- Low-head drainage: If only the lowest head is leaking, install a sprinkler head with a built-in check valve.
- Mainline issues: If multiple zones are leaking, inspect the system’s main shut-off valve and backflow preventer for slow leaks.
https://summitoutdoorsirrigation.com/sprinkler-repair-in-niceville/
Conclusion
In conclusion, maintaining your sprinkler system is essential for ensuring a lush and healthy landscape. By identifying common problems—such as heads not popping up or low water pressure—you can effectively troubleshoot and diagnose issues before they escalate. Regular checks for leaks and understanding the causes behind them will also help you save water and manage your irrigation system more efficiently. Remember, a well-functioning sprinkler system not only conserves resources but also enhances the beauty of your garden. If you’re feeling overwhelmed or unsure about how to tackle these issues, don’t hesitate to reach out for expert guidance or support. Your garden will thank you!
https://summitoutdoorsirrigation.com/
https://summitoutdoorsirrigation.com/why-is-my-water-pressure-low-in-my-irrigation-system-solutions/
https://summitoutdoorsirrigation.com/effective-lawn-watering-schedule-for-florida-homes/
Frequently Asked Questions
How do I know if my sprinkler timer or control box is the problem?
First, check if the sprinkler timer has a blank screen, which may indicate a power issue or a faulty controller. Test the wiring connections with a multimeter to see if the irrigation controller is sending power to the valves. If the controller has power but zones won’t run manually, it might be damaged from power surges.
What basic steps should a beginner follow for sprinkler repair tips?
For a beginner, start with regular maintenance. Visually inspect your system while it runs, looking for common issues like clogged heads or obvious leaks. Check that your watering schedule is appropriate for the season. Understanding your system design and its components is the first step toward any successful irrigation system repair.
How can I repair broken or clogged sprinkler heads?
For a clogged nozzle, unscrew the top of the spray head and clean the filter and nozzle. Use a small brush to remove dirt or soak parts in vinegar to dissolve mineral deposits. A broken sprinkler head typically needs to be replaced. Simply dig around the head, unscrew the old body, and screw on a new one.